Capturing the luminous quality of human skin in watercolor can be a daunting challenge for many artists. The translucent layers, subtle color variations, and delicate shadows that make skin appear lifelike require both technical skill and a thoughtful approach. Whether you’re painting portraits, figure studies, or just wanting to improve your painting realistic skin in watercolor, mastering this fundamental aspect of portraiture will elevate your artwork to new heights. The techniques discussed below have transformed my own painting practice and helped countless students overcome their frustration with skin tones that look flat, muddy, or simply unconvincing.
Understanding the Structure and Color of Human Skin
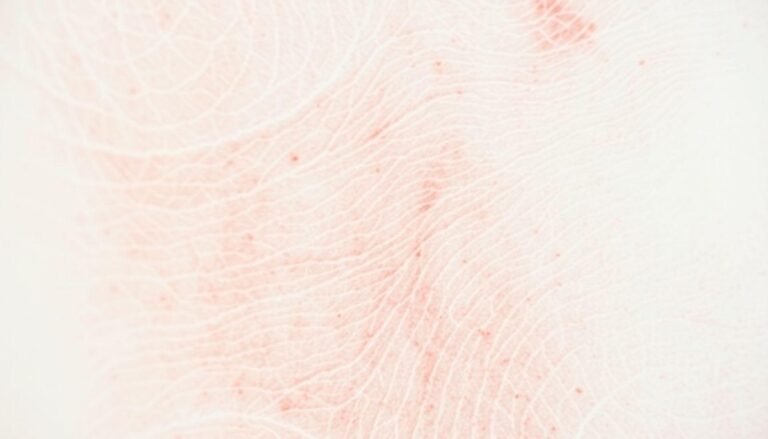
Before touching brush to paper, it’s essential to understand what gives skin its distinctive appearance. Skin isn’t simply one flat color—it’s a complex, semi-transparent organ with multiple layers that scatter and reflect light in unique ways.
Human skin consists of three main layers: the epidermis (outer layer), the dermis (middle layer), and the hypodermis (bottom layer). Each layer contributes to the overall appearance of skin, with blood vessels, melanin, and underlying structures creating the variations we see. This knowledge isn’t just academic—it directly informs how we build up our watercolor washes.
The base color of skin is determined by several factors:
For realistic results, avoid using pre-mixed “skin tone” colors straight from the tube. Instead, create your own mixtures that can be adjusted for different areas of the face and body.
Layering Transparent Washes for Depth
The magic of watercolor lies in its transparency, which is perfectly suited for capturing the luminous quality of skin. Building up multiple thin layers—rather than trying to achieve the correct color in a single wash—is the key to creating skin that glows with life.
The Three-Layer Approach
I recommend starting with a simple three-layer foundation:
1. First layer: Apply a very light, warm yellow wash (such as diluted yellow ochre or raw sienna) across the entire skin area. This creates the undertone that will subtly show through subsequent layers.
2. Second layer: Once the first layer is completely dry, add a slightly stronger wash that introduces more color variation—roses in the cheeks, oranges for warmer areas, cooler tones for shadowed regions. Keep this layer transparent.
3. Third layer: This is where you begin defining forms and adding dimension. Focus on the transitions between light and shadow, still keeping washes relatively light.
Remember, you can always add more layers for additional depth, but you can’t easily remove watercolor once it’s applied. Patience is rewarded in this process.
Mixing Natural Skin Tone Palettes
Creating believable skin tones requires a thoughtful selection of pigments. While there’s no single “correct” palette, certain combinations consistently produce natural results.
Essential Pigments for Your Palette
These core colors will help you mix most skin tones:
For very fair skin, add more yellow and rose with minimal sienna. For deeper skin tones, increase the proportion of burnt sienna and burnt umber while still maintaining the underlying yellow base.
Avoid using black for shadows in skin—it creates an unnatural, lifeless effect. Instead, mix complementary colors to create rich, vibrant shadows that enhance the feeling of living tissue.
Capturing Subtle Transitions and Values
The human face and body feature countless subtle shifts in value (lightness and darkness). These transitions are what create the illusion of three-dimensionality and make skin look real rather than flat or mask-like.
Pay special attention to:
Work from reference photos or life to study these transitions. Take time to analyze where and how these shifts occur before attempting to paint them. Often, the difference between amateur and professional portrait work lies in the artist’s understanding of these subtle value shifts.
Adding Final Details and Texture
The finishing touches can make or break your skin portrayal. This is where you’ll add the small details that suggest pores, fine lines, and the texture of skin without overdoing it.
The Power of Restraint
Less is more when it comes to skin texture. Watercolor naturally creates beautiful, soft transitions that suggest skin texture when properly handled. Adding too many details can make your painting look overworked.
Consider these techniques for subtle texture:
Remember that skin has different properties depending on age, location on the body, and individual characteristics. The skin around the eyes is thinner and more translucent than the skin on the cheeks, which differs from the skin on hands or feet.
Successful portrayal of skin in watercolor comes from practice, observation, and patience. Each painting is an opportunity to refine your understanding of how light interacts with human skin and how watercolor can be manipulated to capture its essence. The most important thing is to remain patient with yourself and the process—painting realistic skin in watercolor is considered one of the most challenging aspects of portraiture for good reason.
With consistent practice and application of these five essential techniques, you’ll find your confidence growing and your portraits becoming increasingly lifelike. Remember that even the most accomplished portrait artists continue learning and refining their approach to skin tones throughout their careers.

