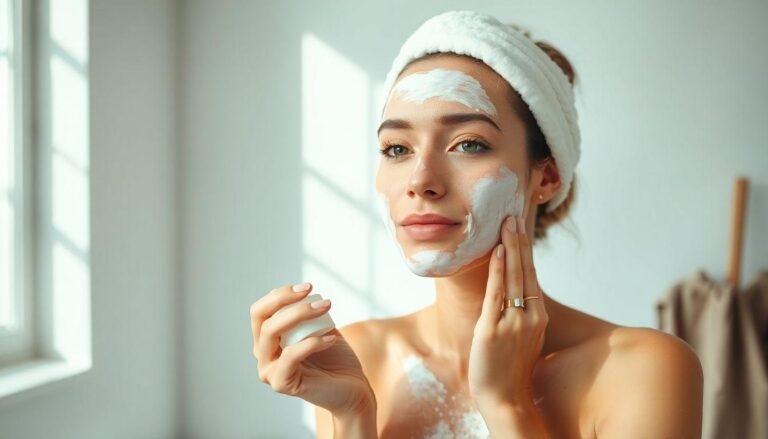
Have you ever wished for a more radiant complexion without the harsh chemicals found in commercial products? You’re not alone. Many of us desire brighter, more even-toned skin but worry about the potential damage from store-bought lightening products. Creating your own DIY skin lightening body scrub at home is not only cost-effective but also allows you to control exactly what goes onto your skin. With natural ingredients from your kitchen, you can gently exfoliate dead skin cells and gradually brighten your complexion the healthy way.
Why Natural Skin Lightening Scrubs Work
Before diving into recipes, let’s understand why homemade scrubs can effectively brighten your skin. Natural exfoliation removes the top layer of dead skin cells, revealing fresher skin underneath. Many kitchen ingredients contain natural acids and enzymes that gently lighten dark spots while nourishing your skin with vitamins and antioxidants.
Commercial lightening products often contain controversial ingredients like hydroquinone or mercury compounds that can cause irritation or long-term health concerns. Natural alternatives work more gradually but provide gentler, safer results that benefit your skin’s overall health.
Essential Ingredients for Brightening Scrubs
The most effective natural skin lightening ingredients are probably sitting in your pantry right now:
Base Exfoliants
Natural Brightening Agents
Nourishing Oils
Top 3 DIY Skin Lightening Scrub Recipes
Let’s get practical with some easy-to-make recipes that deliver results:
1. Lemon Sugar Brightening Scrub
This classic combination provides gentle exfoliation with the natural lightening power of citrus.
Ingredients:
Mix all ingredients in a clean bowl until well combined. Store in an airtight container for up to two weeks. Apply to damp skin in circular motions, leave for 5 minutes, then rinse thoroughly. Use 1-2 times weekly.
Note: Lemon can increase sun sensitivity, so always apply sunscreen after using this scrub.
2. Yogurt Oatmeal Gentle Brightening Scrub
Perfect for sensitive skin, this soothing formula brightens without irritation.
Ingredients:
Combine ingredients to form a thick paste. Apply to clean, damp skin and massage gently. Leave for 10 minutes, then rinse with warm water. Use 1-2 times weekly. Make fresh each time for best results.
3. Tropical Papaya Brightening Scrub
This enzyme-rich scrub dissolves dead skin cells while lightening dark spots.
Ingredients:
Blend all ingredients until smooth with small sugar granules still intact. Apply to damp skin in gentle circular motions. Leave for 10 minutes, then rinse thoroughly. Use weekly for best results. Make fresh each time.
How to Use Your Homemade Scrubs Effectively
Even the best scrub won’t work properly without the right technique:
1. Always apply to clean, damp skin.
2. Use gentle circular motions—no need to scrub harshly!
3. Focus on areas with uneven tone or roughness.
4. Leave on for 5-10 minutes when possible to allow brightening ingredients to work.
5. Rinse thoroughly with lukewarm water.
6. Follow with moisturizer and sunscreen (crucial when using brightening products).
7. Start with once-weekly applications, increasing to twice weekly if your skin tolerates it well.
Precautions and Tips
While natural ingredients are generally safer than harsh chemicals, keep these points in mind:
When to Seek Professional Help
While DIY skin lightening body scrubs can work wonders for mild hyperpigmentation and dullness, some conditions require professional treatment. Consider seeing a dermatologist if:
Remember that natural methods take time but offer gentler, more sustainable results. Your skin will thank you for choosing the patient path to radiance.
Creating your own skin brightening treatments at home allows you to customize ingredients based on your skin’s needs while avoiding potentially harmful chemicals. With consistent use, these natural skin lightening scrubs can help you achieve a more radiant, even-toned complexion. The journey to brighter skin doesn’t require expensive products—just a little patience and some ingredients from your kitchen!


