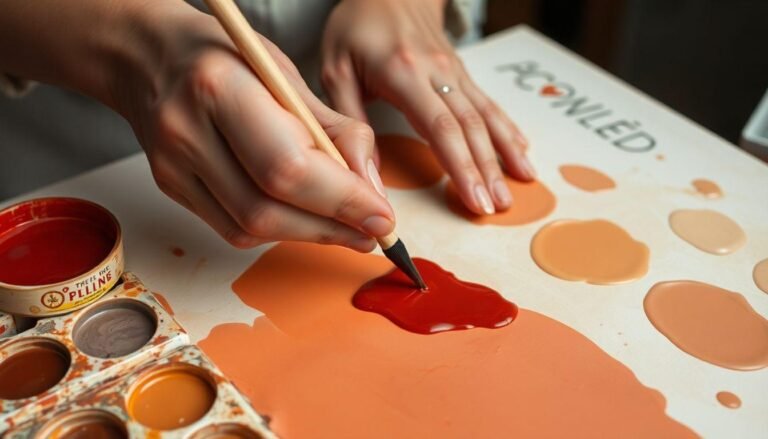
Have you ever wanted to capture the perfect flesh tone in your artwork but found yourself struggling with the right mix? Creating realistic skin tones can be one of the most challenging aspects of painting, especially when working with acrylics. But don’t worry! With a few simple techniques and the right color combinations, you can easily mix skin color paint with acrylics that looks natural and lifelike. Whether you’re painting portraits, figurative art, or just want to expand your color-mixing skills, mastering skin tones will elevate your artwork to a whole new level.
Understanding the Basics of Skin Tones
Before diving into mixing colors, it’s important to understand that there’s no single “skin color.” Human skin comes in countless shades and undertones, influenced by factors like ethnicity, sun exposure, and even emotions. Real skin is complex – it has highlights, shadows, and subtle color variations that make it come alive on canvas.
When working with acrylics, remember that colors dry darker than they appear when wet. This means you’ll want to mix your skin tones slightly lighter than your target shade. Also, keep your mixtures a bit more saturated than you might think necessary, as acrylics tend to dull somewhat as they dry.
Essential Colors for Mixing Skin Tones
You don’t need dozens of paint tubes to create beautiful skin colors. Here’s a basic palette that will allow you to mix most skin tones:
These six colors will give you tremendous flexibility. For lighter skin tones, you’ll use more white and yellow ochre, while deeper skin tones will incorporate more burnt sienna and burnt umber. The small amount of blue helps to neutralize overly warm mixes when needed.
Step-by-Step Guide to Mixing Skin Colors
Let’s break down the process of mixing skin tones into manageable steps. This approach works for creating any skin tone, from the palest porcelain to the richest ebony.
Creating a Base Mixture
Start with these basic ratios and adjust according to the skin tone you’re trying to achieve:
1. For lighter skin tones: Mix titanium white, a small amount of yellow ochre, and a tiny touch of cadmium red light.
2. For medium skin tones: Combine yellow ochre, a small amount of cadmium red light, and a touch of burnt sienna. Add titanium white to lighten as needed.
3. For darker skin tones: Start with burnt sienna and burnt umber as your base, then add small amounts of yellow ochre and cadmium red to warm it up. Use titanium white sparingly to adjust the value.
Remember, these are just starting points. The key is to add colors gradually – you can always add more, but you can’t take it away once it’s mixed in!
Adjusting the Undertones
Skin is never just one flat color. Different parts of the body and different lighting conditions will reveal various undertones:
Trust your eyes and make small adjustments. Step back from your palette frequently to evaluate your mixture in different lighting.
Common Mistakes to Avoid
When mixing skin colors with acrylics, there are several pitfalls that even experienced artists sometimes encounter:
1. Using pure white or black: Pure white makes skin look chalky, while black makes it look muddy. Instead, lighten with titanium white and darken with burnt umber or ultramarine blue.
2. Mixing too many colors at once: This often results in a muddy, unrealistic color. Start simple and add colors gradually.
3. Forgetting about undertones: Real skin has complex undertones that vary across the body. Including these subtle variations will make your painting more lifelike.
4. Ignoring lighting conditions: The same skin will look different in warm sunlight versus cool fluorescent lighting. Consider your light source when mixing.
Tips for Testing Your Skin Tone Mixtures
How do you know if you’ve got the right mix? Here are some practical testing methods:
1. Create a swatch card: Paint small rectangles of your mixtures and let them dry completely. Label each one with the colors and ratios used.
2. The paper test: Hold your mixture against your reference photo or model and squint your eyes. This helps you see if the value (lightness/darkness) matches.
3. Try the three-mixture approach: Mix three versions of your skin tone – one for the mid-tone, one slightly lighter for highlights, and one slightly darker for shadows. This gives depth to your painting.
Creating Dimension with Multiple Skin Tones
For truly realistic skin, you’ll want to prepare at least three related shades:
These three values will help you create dimension and make your painted skin look three-dimensional rather than flat.
Conclusion
Mastering how to mix skin color paint with acrylics takes practice, but it’s a skill worth developing. Remember that observation is your best teacher – study the subtle variations in real skin tones and try to recreate them. Keep a journal of your successful mixtures so you can replicate them in future projects. With patience and practice, you’ll soon be creating lifelike, vibrant skin tones that bring your paintings to life.
The beauty of working with acrylics is that they dry quickly, allowing you to experiment with multiple layers and adjustments. Don’t be afraid to make mistakes – sometimes the most interesting skin tones come from happy accidents! So grab your brushes, set up your palette, and start exploring the fascinating world of skin color mixing with acrylics.


