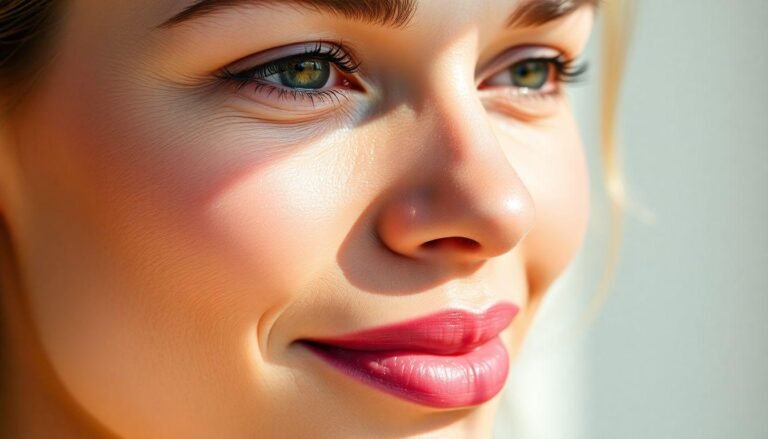
We all strive for that flawless, radiant complexion in our photos, but not every day is a perfect skin day. Thankfully, modern technology offers solutions that don’t require professional editing skills. Using a clear skin filter on your camera roll has become increasingly popular among women looking to put their best face forward on social media, dating profiles, or professional headshots. The beauty of these filters lies in their ability to smooth imperfections while maintaining a natural look that doesn’t scream “heavily edited.” Let’s explore how you can effortlessly enhance your photos with these user-friendly tools.
What Is a Clear Skin Filter and Why Use It?
A clear skin filter is a digital tool that helps minimize the appearance of blemishes, acne scars, redness, and other skin imperfections in photos. Unlike heavy Instagram filters that can completely transform your appearance, quality skin filters aim to enhance rather than alter. They’re perfect for:
Think of these filters as digital concealer – they help cover imperfections while still letting your natural beauty shine through.
Popular Apps for Clear Skin Filtering
Facetune 2
Facetune 2 remains a favorite for its intuitive skin smoothing tools. The app offers a selective smoothing brush that allows you to target specific areas without affecting the entire image. Its smart technology preserves skin texture, avoiding that dreaded “plastic” look.
Airbrush
Airbrush excels with its one-tap skin fix feature, perfect for beginners. The app also offers customizable intensity levels so you can apply just the right amount of correction. Its “Natural Skin” filter is particularly popular for its subtle enhancement capabilities.
Snapseed
Google’s Snapseed provides professional-grade editing tools completely free. While it requires a bit more skill than other apps, its “Healing” brush works wonders for spot correction, and the “Portrait” tool offers natural skin smoothing options.
Adobe Lightroom Mobile
For those wanting more control, Lightroom’s selective adjustments allow for precise skin retouching. The app’s “Texture” and “Clarity” sliders can be reduced in specific areas to soften skin appearance while maintaining important details.
Step-by-Step Guide to Apply a Clear Skin Filter
Let’s walk through a general process that works across most photo editing apps:
1. Select a well-lit photo from your camera roll
2. Import it into your chosen editing app
3. Look for tools labeled “Smooth,” “Skin,” “Retouch,” or “Healing”
4. Start with a low intensity setting (around 20-30%)
5. Apply the filter to specific problem areas first
6. Gradually increase intensity if needed, but stay below 50% for natural results
7. Use the compare feature to check before/after (most apps offer this)
8. Save your edited image back to your camera roll
Remember that less is more when it comes to skin filtering. The goal is to look like yourself on a good skin day, not like a different person altogether.
Advanced Techniques for Natural-Looking Results
Focus on Problem Areas Only
Instead of applying a filter to your entire face, target only the areas that need attention. This selective approach preserves important skin texture and natural features like freckles or beauty marks that make you uniquely you.
Maintain Skin Texture
The telltale sign of over-filtering is perfectly smooth, poreless skin. Look for apps that offer “skin texture preservation” or adjust opacity settings to maintain some natural skin details. Some apps even let you add back texture after smoothing.
Consider Different Lighting Conditions
What looks good in bright daylight might look unnatural in evening photos. Adjust your filtering intensity based on the lighting in your original photo – generally using lighter touches for well-lit images and slightly stronger effects for dimmer lighting.
Common Mistakes to Avoid
The most common mistake is going overboard. If friends can immediately tell you’ve filtered your photo, you’ve probably applied too much correction.
Ethical Considerations Around Skin Filtering
While there’s nothing wrong with wanting to look your best in photos, it’s worth considering the impact of heavily edited images on our collective self-image and confidence. Many women are now choosing to embrace a more authentic approach, using minimal filtering or even highlighting their skin’s natural appearance.
Consider using clear skin filters mindfully – perhaps for professional headshots or special occasion photos, while still sharing unfiltered images in your everyday life. This balanced approach helps maintain a healthy relationship with your self-image while still taking advantage of helpful technology.
Conclusion
Using a clear skin filter on your camera roll doesn’t have to be complicated or result in unnatural-looking photos. With the right apps and techniques, you can enhance your natural beauty while still looking like yourself. Remember that the best approach is one that builds confidence without creating unrealistic expectations. The most effective clear skin filter is the one that leaves people thinking “Wow, she looks great!” rather than “Wow, what filter did she use?” Experiment with different apps and settings to find what works best for your unique skin and photography style, and don’t be afraid to embrace your natural texture along the way.


