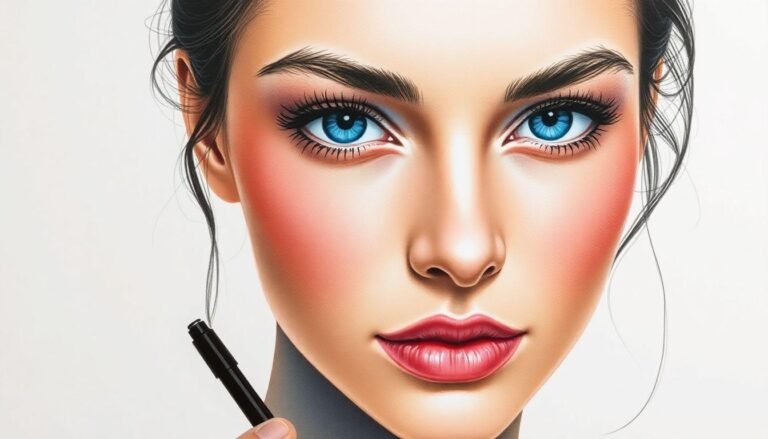
Choosing the right skin tones for your Copic marker artwork can feel overwhelming with so many color options available. Whether you’re illustrating portraits, character designs, or figure drawings, mastering Copic skin color combos is essential for creating lifelike, vibrant artwork that captivates viewers. The beauty of Copic markers lies in their blendability, allowing artists to create subtle gradations and realistic skin tones across all ethnicities and lighting conditions. Let’s explore some tried-and-true color combinations that will elevate your illustrations and help you achieve that professional-quality finish you’re striving for.
Understanding Copic Color Coding for Skin Tones
Before diving into specific combinations, it’s helpful to understand how Copic markers are coded. The letter prefix indicates the color family: E (Earth) tones are perfect for skin, while R (Reds) and YR (Yellow-Reds) can add warmth and blush. The first number indicates saturation (0-9), with lower numbers being more saturated. The second number shows darkness (0-9), with higher numbers being darker.
For skin tones, you’ll typically work with:
Remember, successful blending usually requires at least three markers per skin tone: a base, a mid-tone, and a shadow tone.
Fair to Light Skin Tone Combinations
When creating fair skin tones, less is often more. Too many colors can make the skin look muddy rather than luminous.
Classic Fair Skin Trio
A timeless combination for porcelain to fair skin includes:
Add R20 (Blush) on cheeks, nose tip, and ears for that realistic flush that brings illustrations to life. This combination works beautifully for children’s illustrations and anime-style characters.
Cool-Toned Fair Skin
For skin with cooler undertones:
Adding BV20 (Dull Lavender) very sparingly in deeper shadow areas creates a realistic coolness that’s perfect for winter scenes or dramatic lighting.
Medium Skin Tone Combinations
Medium skin tones offer versatility and can range from olive to golden hues, requiring thoughtful color selection.
Warm Medium Skin
For sun-kissed or naturally warm medium skin:
Add YR21 (Cream) as a highlight on cheekbones and bridge of the nose to create a gorgeous, glowing effect. This combination is perfect for summer-themed illustrations or characters with Mediterranean heritage.
Olive Medium Skin
For olive-toned skin with cooler undertones:
A touch of E93 (Tea Rose) adds subtle blush that complements olive skin beautifully.
Deep and Rich Skin Tone Combinations
Creating rich, deep skin tones requires careful attention to undertones and highlights to avoid flatness.
Golden Deep Skin
For deep skin with golden undertones:
Add E13 (Light Suntan) very sparingly for highlights on high points of the face. YR23 (Yellow Ochre) can add beautiful warmth to highlighted areas.
Cool Deep Skin
For deeper skin with cooler undertones:
E04 (Lipstick Natural) creates natural-looking blush areas, while E34 (Toast) can be used for highlights.
Tips for Realistic Skin Tone Blending
Creating lifelike skin isn’t just about choosing the right colors—technique matters just as much!
Layering Technique
When working with Copic skin color combos, always start with your lightest shade and gradually build up. The key is to:
This “feathering” technique creates soft transitions that mimic real skin texture.
Adding Dimension and Life
Real skin isn’t one flat color. To add dimension:
Remember that lighting affects skin appearance dramatically. Cool lighting creates cooler shadows, while warm lighting creates warmer shadows.
Common Mistakes to Avoid
Even experienced artists make these common errors when coloring skin:
Start simple with just three markers until you’re comfortable, then gradually experiment with more complex combinations.
Conclusion
Mastering Copic skin color combos takes practice, but the results are well worth the effort. The right combination can transform a flat illustration into a vibrant, lifelike creation that connects with viewers on an emotional level. Remember that there’s no single “correct” way to color skin—lighting, mood, and artistic style all influence your choices. The combinations shared here provide an excellent starting point, but don’t be afraid to experiment and develop your own signature palette. Whether you’re illustrating fashion figures, portraits, or character designs, these reliable color combinations will help you create stunning artwork that showcases both technical skill and artistic sensitivity. What’s your favorite Copic skin tone combination? Give these suggestions a try in your next piece and see how they transform your illustrations!


